Announcement

Collapse
No announcement yet.

How to Install GUI on Ubuntu 24.04 Server

Collapse
X
Collapse
  •  

  • How to Install GUI on Ubuntu 24.04 Server


    Ubuntu 24.04 can be accessed as a desktop or as a server, depending on your needs. You will most likely access the Ubuntu 24.04 server, which doesn’t come with a GUI. The Ubuntu 24.04 server relies on your mastery of commands, which can be tricky for beginners.
    Besides, some actions are better approached via the GUI. If you are stuck on how to have a GUI on an Ubuntu 24.04 server, this post shares the steps you should follow. We will install a display manager and a GUI to make it convenient for you to choose between using a GUI or a command line when accessing your Ubuntu server. Read on!

    Detailed Guide on Installing GUI on Ubuntu 24.04 Server

    A key benefit of using the Ubuntu 24.04 server is that it saves space and resources that the GUI applications would otherwise consume. The command-line option is excellent when working with a server, but various instances and tools are better approached via the GUI.

    Unfortunately, the Ubuntu 24.04 server doesn’t have a GUI you can switch to when needed. However, you can quickly install a display manager and then install a GUI. There are numerous options for installing the GUI. You can install Ubuntu desktop, KDE Plasma, XFCE, MATE, etc.

    Here are the steps to install GUI on Ubuntu 24.04.

    Step 1: Update Your Ubuntu 24.04 Server

    The first step is to log in to your Ubuntu server. You will get a login window, and once you enter your credentials, you will be logged in.
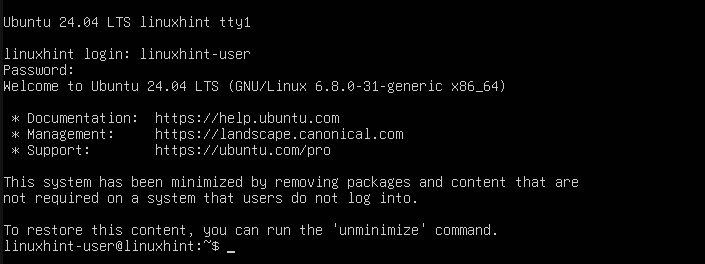


    After login, we then must refresh the package index. Update your server with the following command.

    $ sudo apt update


    Step 2: Install a Display Manager

    On your Ubuntu 24.04 server, we will need a display manager to open the display server, allowing you to use a GUI or select between the installed GUI options. Two commonly used display managers are LightDM and Slim.

    The two display managers are excellent and have almost similar functionalities. For this guide, let’s install LightDM using the command below.

    $ sudo apt install lightdm


    Confirm the prompt and notice the required space to install the GUI. Once you press ‘y’ on your keyboard, wait for the installation to start and complete.


    You will get prompted with a configuration prompt on what display manager to set as your default. Select lightdm as it’s the one we’ve installed with the previous command.


    Step 3: Install and Use a GUI on Ubuntu 24.04

    As mentioned earlier, you can install different GUIs. It all depends on which one suits you best. To keep it simple, let’s install Ubuntu Desktop GUI for our case. Run the below command.

    $ sudo apt install ubuntu-desktop


    Confirm any prompts that will appear during the installation.

    Once the GUI is installed, restart your Ubuntu 24.04 server to access the display manager, where you can select the installed GUI and use it to interact with your Ubuntu Noble Numbat.

    $ sudo reboot


    Once your Ubuntu 24.04 server reboots, it will display a GUI that you can use to sign in. Enter your server credentials.
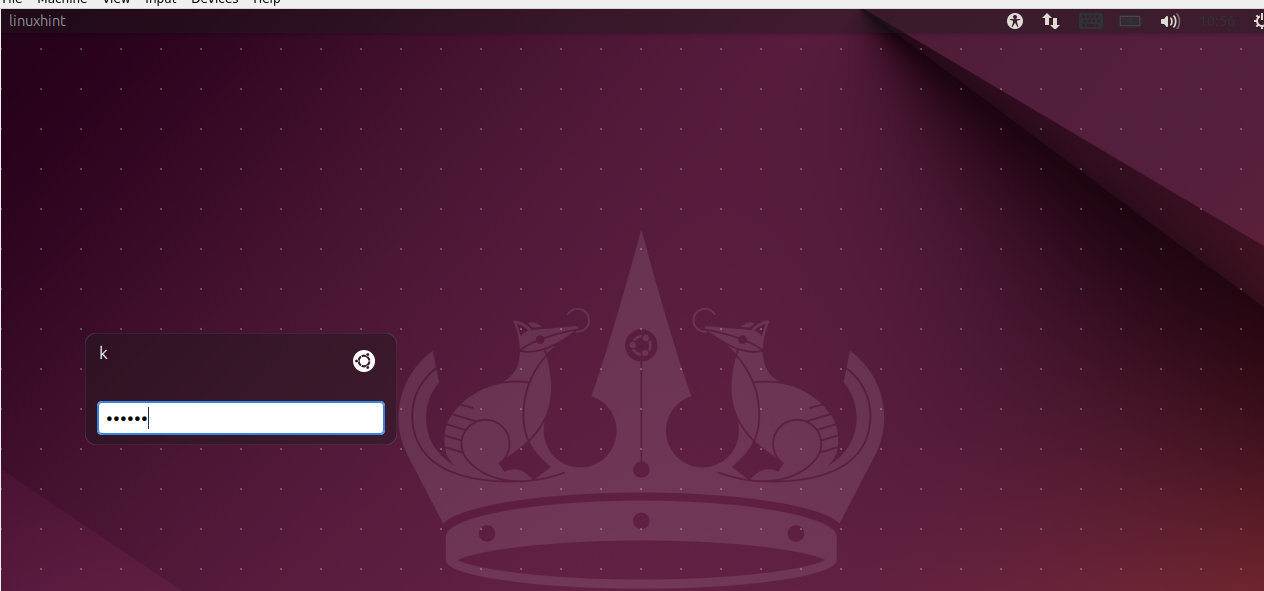


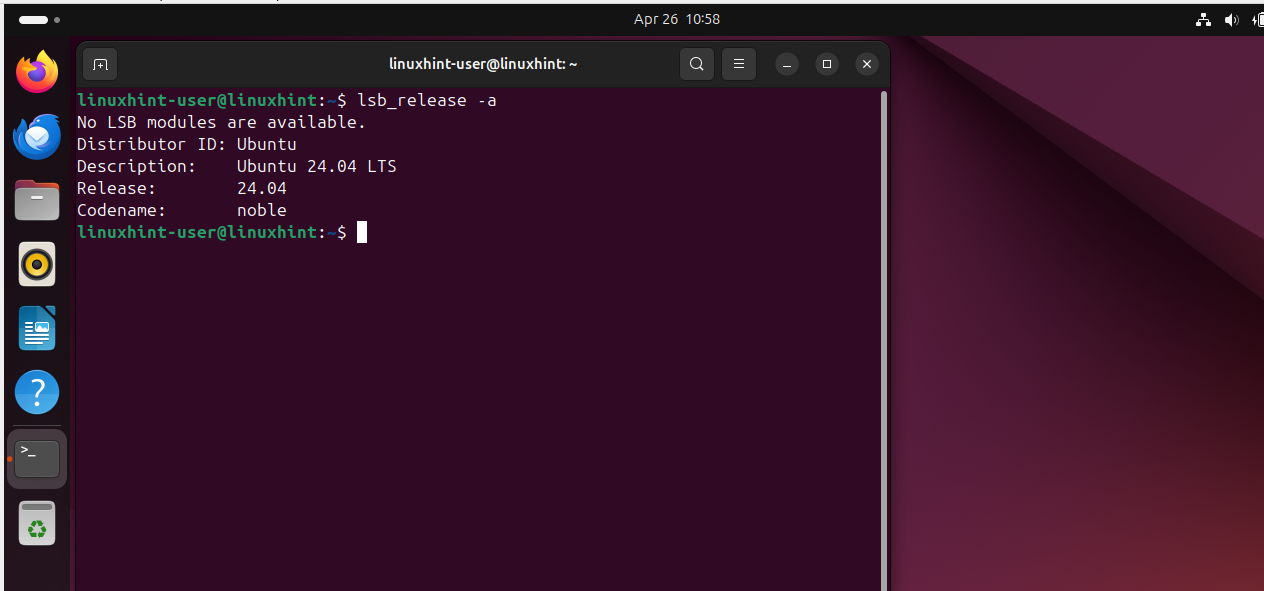
    Once you log in, you can enjoy using your Ubuntu server via the installed Ubuntu Desktop GUI.


    Conclusion

    An Ubuntu 24.04 server uses the terminal for interaction. You can perform all tasks with the terminal, but some tools and activities require a GUI for simplicity and convenience. To install a GUI on Ubuntu 24.04, log in to your server, update the repository, and install a display manager. Next, install the GUI, reboot the system, and lastly, start using the installed GUI. All steps are detailed in this post.


    More...
      Posting comments is disabled.

    Categories

    Collapse

    Article Tags

    Collapse

    There are no tags yet.

    Latest Articles

    Collapse

    • How to Install Synology Assistant App on Ubuntu 24.04 LTS
      by Kasimba
      Synology Assistant is an official Synology app that can be used to:
      • Scan your LAN for Synology NAS devices
      • Install the DSM software on your Synology NAS
      • Access the DSM web interface of your Synology NAS
      • Mount shared folders of your Synology NAS on your computer
      • Turn on Synology NAS remotely via Wake-on-LAN (WOL)

      In this article, I will show you how to install the Synology Assistant app on Ubuntu 24.04 LTS.


      Table of Conten

      ...
      Today, 02:34 AM
    • How to Find MAC Address of the Synology NAS Network Interfaces
      by Kasimba
      MAC address is a unique identifier of a network interface. A unique MAC address is burned into the network interface card (NIC) by the manufacturer so that you never have conflicting MAC addresses.

      You may need to know the MAC address of the network interfaces of your Synology NAS for many reasons, such as:
      • To set a fixed IP address via DHCP
      • To use WOL (Wake on LAN) feature from the command-line or other apps
      • For other networking and network security purposes


      ...
      Today, 02:34 AM
    • How to Power On a Synology NAS Remotely from the Linux Command-Line using WOL (Wake-on-LAN)
      by Kasimba
      WOL – Wake-on-LAN is a feature of the Synology NAS that allows you to turn on your Synology NAS from any computer on the same network as your Synology NAS without needing to press the power button of your Synology NAS.

      If you want to keep your Synology NAS locked in a cabinet, or on top of a shelf that is very hard to reach (due to height), you may not have easy access to the power button of your Synology NAS. In that case, you will be able to use WOL (Wake-On-LAN) to turn on your...
      Today, 02:34 AM
    • Understanding the Basics of SELinux Policy Management on CentOS
      by Kasimba


      by George Whittaker


      Introduction

      In the vast ocean of Linux security, SELinux stands as a stalwart guardian, often misunderstood yet crucial for safeguarding systems against potential threats. As administrators and users delve deeper into the realms of CentOS, mastering SELinux policy management becomes imperative for ensuring robust security configurations. This article aims to demystify SELinux policy management...
      05-07-2024, 10:32 PM
    • How to Disable UEFI Secure Boot on a Proxmox VE Virtual Machine
      by Kasimba
      For GPU passthrough to work or for installing specific device drivers on a Proxmox VE virtual machine, you may need to disable UEFI Secure Boot on your Proxmox VE virtual machine.

      In this article, I will show you how to disable UEFI secure boot on a Proxmox VE virtual machine.

      The procedures shown in this article will also work on any KVM/QEMU/libvirt virtual machines and virtual machines running on other virtualization platforms based on the KVM/QEMU/libvirt hyperviso...
      05-04-2024, 07:36 AM
    • Simplify Your Life with Taskwarrior's Intuitive Linux Job Scheduling
      by Kasimba


      by George Whittaker


      Introduction

      In the digital age, the ability to effectively manage time and tasks is invaluable, especially for those who work in technology and software development. Linux users, known for their preference for powerful, flexible tools, have various options for task management and scheduling. One of the standout tools in this area is Taskwarrior, a command-line task management utility that...
      05-04-2024, 07:36 AM
    Working...
    X