 Tweet
Tweet
In the digital world, a key concern for most organizations is how to control multiple servers and streamline the process to make it easy for their administrators. Luckily, there are different configuration management systems, such as Ansible, that make it easy and convenient to automate these tasks.
With an automation tool such as Ansible, you can perform tasks such as software deployment and configuration management from one Ansible control host without having to log in to each target server. Ansible is a free automation tool, and if you are new to it, stick around as this post shares everything you need to install it on Ubuntu 24.04.
Installation and Configuration of Ansible on Ubuntu 24.04
To work with Ansible, you need an Ansible control host, which is our Ubuntu 24.04, and one or more Ansible hosts. The Ansible hosts are the target machines that you want to automate from one control host. For these hosts, we will use SSH to connect to them through SSH key pairs. Let’s break down the process into understandable steps.
Step 1: Install Ansible on Your Control Host
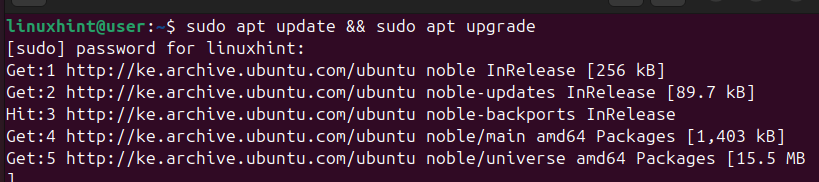
On our Ubuntu 24.04(Noble Numbat), that’s where we will install Ansible. First, let’s quickly update and upgrade our system.
$ sudo apt update && sudo apt upgrade
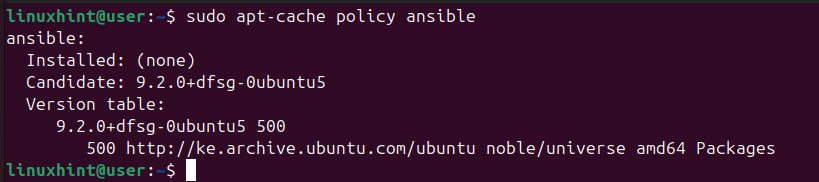
Before we can install Ansible using the APT, let’s check the available version in its repository using the command below.
$ sudo apt-cache policy ansible
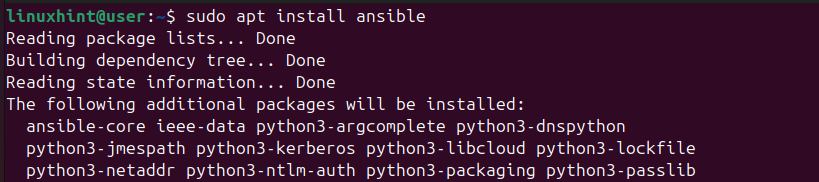
We can now run our install command to fetch and install Ansible from our Ubuntu repository.
$ sudo apt install ansible
Once Ansible installs, check the version to confirm that your installation was successful.
$ ansible --version

You now have Ansible installed on your system. However, we must configure it to set our control host.
Step 2: Setting Up SSH Keys
Ansible uses SSH to connect to the Ansible hosts when running any tasks from the Ansible control host. As such, we must copy our Ansible control host’s SSH public key to our Ansible hosts for seamless connection without requiring any passwords.
The first step is to generate the SSH key pair on our Ansible control node.
$ ssh-keygen
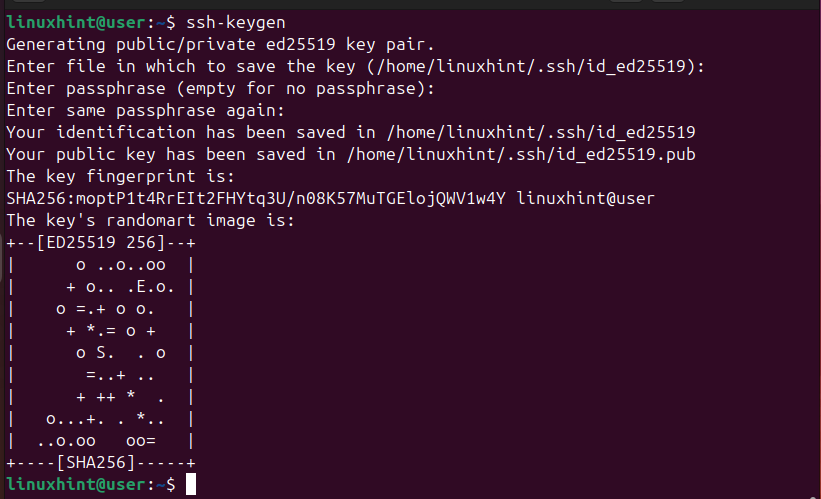
You can select a different location to save the key or go with the default location. Moreover, you can set a passphrase for authentication or not. Once you’ve set your preferences, your SSH key pair will be generated.
We then must copy the public key to our Ansible hosts. First, ensure you have the IP address of the target host and the username. Once you do so, we will copy the public key using ssh-copy-id with the following command.
$ ssh-copy-id username@ip_address
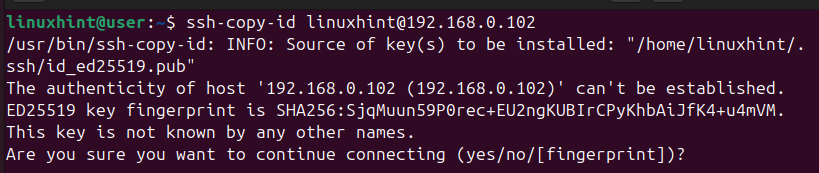
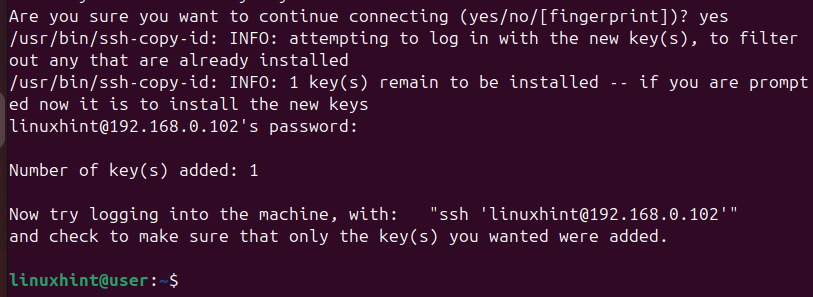
You will get a message asking you whether you wish to proceed and authenticate the connection. Type ‘yes’ to continue.
Once you enter the password for your remote host, you will get an output showing that the key has been added successfully.
While still connected to the remote machine, open the SSH configuration file and disable password authentication, as in the image below.
$ sudo nano /etc/ssh/ssh_config

Save the file and log out of your remote host. The next time you try to log in, you won’t be prompted to enter your password, as the SSH key pairs will be used for authentication.

Step 3: Configuring Your Ansible Control Node
So far, we’ve installed Ansible and set up SSH keys for the connection. The other step is to configure our Ansible control node by specifying the IP addresses of all the Ansible hosts that we want to control. To do so, we must create an inventory file containing the host details.
Create your inventory file and name it according to your preference. We’ve stored our “ansible-hosts” inventory file in our current directory. Inside the file, add the details of the servers you wish to control and ensure that you’ve set up each server’s SSH keys as we did in the previous step.

Lastly, save your inventory file and exit the text editor.
To verify that our Ansible inventory file exists, use the below command and replace the “ansible-hosts’ with the path to where you’ve saved your inventory file.
$ ansible-inventory --list -i ./ansible-hosts -y
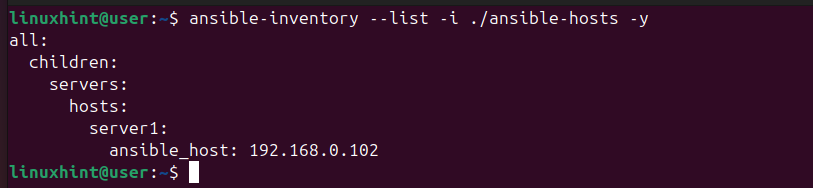
You will get an output showing the infrastructure of the added Ansible host(s).
Step 4: Test the Ansible Connection
The last step involves verifying that our connection works and that we can access and control the added Ansible hosts from our Ansible control node. If the connection was well set up, we should be able to run commands from our control node.
For instance, let’s try running a ping command and see if the hosts can connect. In the below command, replace ‘linuxhint’ with the username of your target Ansible host and replace the inventory file to match the path where you’ve saved yours.
$ ansible all -i ./ansible-hosts -m ping -u linuxhint

The above output shows a success message, confirming that we have control of our Ansible hosts. You can verify this further by running ad-hoc commands. For instance, let’s check the disk usage by running the below command.
$ ansible all -i ./ansible-hosts -a “df -h” -u linuxhint

That’s it! We’ve managed to install and configure Ansible on Ubuntu 24.04.
Conclusion
Installing Ansible on Ubuntu 24.04 is easy when you have a clear guide to follow. This post acts as a clear guide to help you easily and quickly install and configure Ansible on Ubuntu 24.04. We’ve shared all the steps and demonstrated that our Ansible connection works as expected.
More...