 Tweet
Tweet
When it comes to databases, you can have either relational or non-relational databases. Relational databases follow the SQL syntax, and their data is stored in structured tables. Examples of such databases are MySQL. However, non-relational databases store data in other formats, such as graphs, documents, etc., and a good example is MongoDB.
MongoDB is a non-relational database that stores data as documents. The database is open-source, and by adding its repository to your source list, you will manage to install it on your Ubuntu 24.04. This post walks you through every required step.
MongoDB Installation Guide on Ubuntu 24.04
There are numerous reasons to choose MongoDB over other databases. For instance, if you want to achieve scalability and flexibility, MongoDB is the ideal non-relational database. Besides, MongoDB accommodates 32 and 64-bit systems.
To install MongoDB, use the following steps.
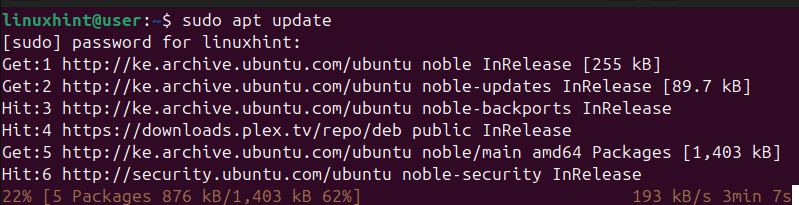
Step 1: Update the Repository
When installing MongoDB, the recommended approach is to get its latest version by adding the MongoDB repository to your source list. Thus, we must first refresh the package index by updating it.
$ sudo apt update
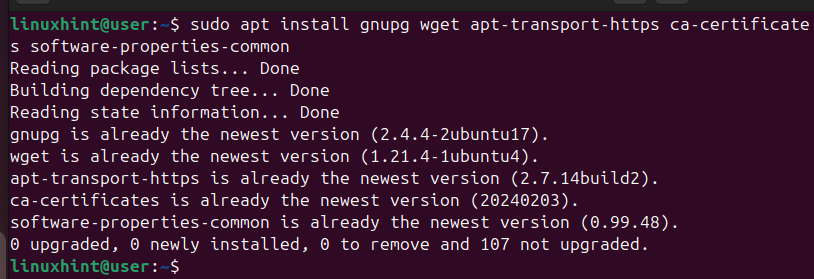
Step 2: Install Dependency Packages
Before we install MongoDB, a few packages need to be available on our Ubuntu 24.04. Some of them are already installed but you should run the below command to handle these dependency packages.
$ sudo apt install gnupg wget apt-transport-https ca-certificates software-properties-common
Step 3: Import MongoDB’s GPG Key
When installing packages from a third-party repository, you should import a GPG key to verify the authenticity of the packages to ensure no harm comes to your system. For the MongoDB repository, we will import the below GPG key.
$ wget -qO- https://pgp.mongodb.com/server-7.0.asc | gpg --dearmor | sudo tee /usr/share/keyrings/mongodb-server-7.0.gpg >/dev/null

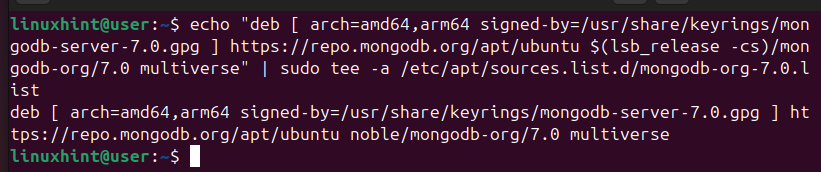
Step 4: Add MongoDB’s Repository
The next step is to add the MongoDB repository for your Ubuntu Noble Numbat. We’ve used the echo command to add the repository to our source list. The lsb_release -cs will fetch the codename for Ubuntu 24.04 and use it to fetch the respective MongoDB repository.
$ echo "deb [ arch=amd64,arm64 signed-by=/usr/share/keyrings/mongodb-server-7.0.gpg ] https://repo.mongodb.org/apt/ubuntu $(lsb_release -cs)/mongodb-org/7.0 multiverse" | sudo tee -a /etc/apt/sources.list.d/mongodb-org-7.0.list
Again, update your repository to refresh the newly added repository.
$ sudo apt update
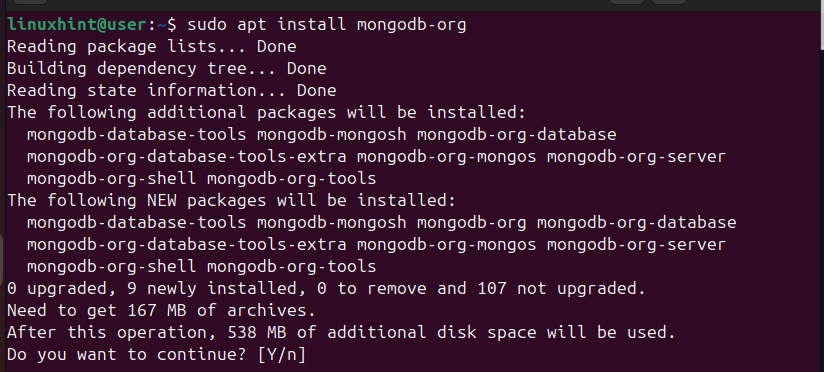
Step 5: Install MongoDB
With the MongoDB repository on our system, we can now install MongoDB using the following command.
$ sudo apt install mongodb-org
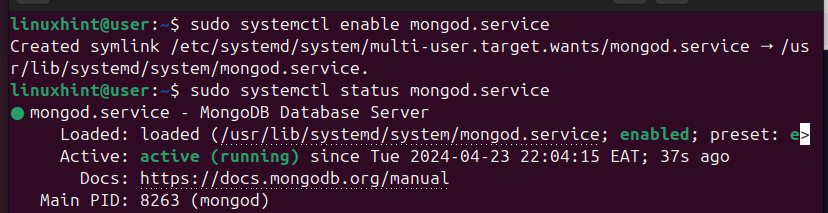
Step 6: Enable and Start the MongoDB Service
After installing MongoDB, we still need to enable it and check to ensure that it is active and running. We will reference the mongod.service with the following commands.
$ sudo systemctl enable mongod.service
$ sudo systemctl status mongod.service
Step 7: Test the MongoDB Connection
We’ve installed MongoDB on our system, but we need to test the connection to ensure everything checks out. An excellent way is by running a connection status using the mongosh shell tool. If the connection to the database can be established, we will get an ‘OK’ return status.
$ mongosh --eval 'db.runCommand({ connectionStatus: 1 })’

Step 8: Configure MongoDB for Better Security
MongoDB has basic configurations that work okay for basic usage. However, it’s advisable to edit the security section of its configuration file, especially if using it in a production environment. Open your MongoDB’s config file using a text editor and edit the security section to have it as in the image below.

Save the file, exit the text editor, and restart the MongoDB service.
$ sudo systemctl restart mongod.service

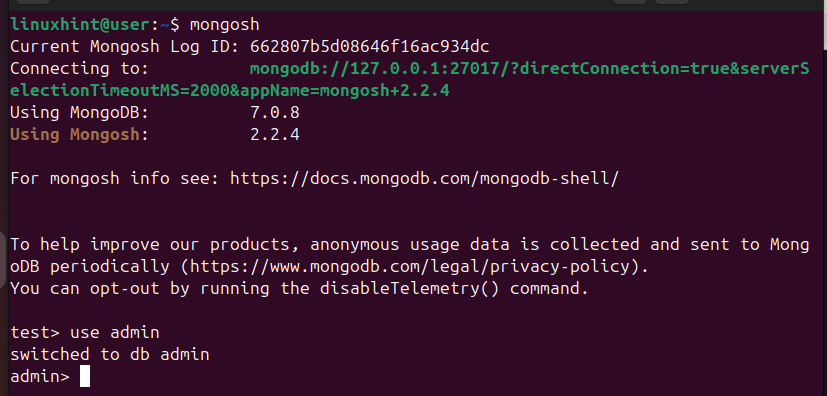
Step 9: Create an Admin User
As part of enhancing your database security, you need to create an administrative user. To do so, access the MongoDB shell with the below command and select which database you want to use.
$ mongosh
$ use admin
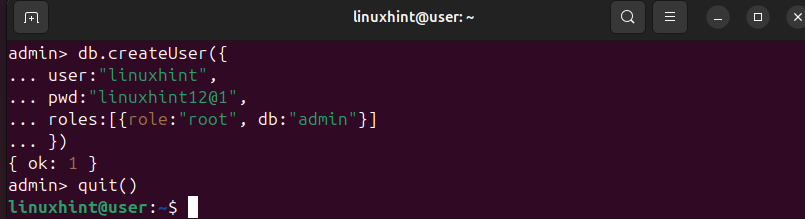
Next, create an admin user for your database and set their password and username. Moreover, set their roles, and lastly, quit the shell to close it.
To verify that your admin user was successfully created, log in to your MongoDB using their username and the assigned password.
$ mongosh -u username -p
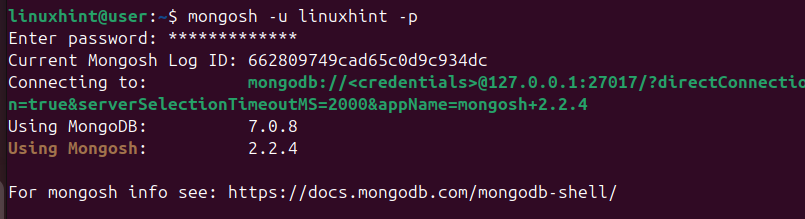
Once you enter your password, you should gain access to MongoDB. The last step is to select the admin database and display the available users.
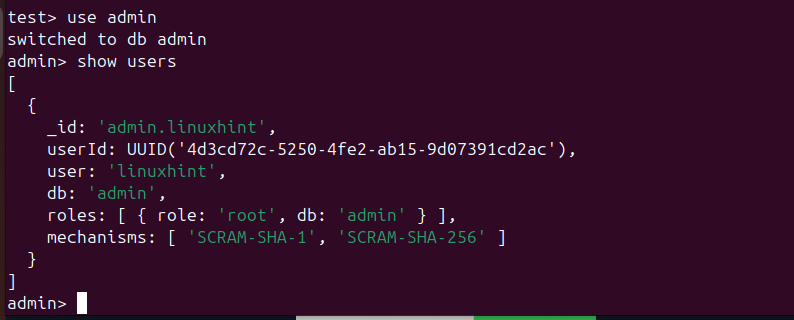
The output should confirm that your admin user exists.
That’s how to install MongoDB on Ubuntu 24.04.
Conclusion
MongoDB is a preferred non-relational database for developers working on scalable projects. To install MongoDB, add its repository to your source list, then install it using APT. Next, configure the database and set your admin user. We’ve discussed what steps you should follow and give practical examples.
More...