MySQL is a reliable and widely used DBMS that utilizes SQL and a relational model to manage data. MySQL is installed as part of LAMP in Linux, but you can install it separately.Even in Ubuntu 24.04, installing MySQL is straightforward. This guide outlines the steps to follow. Read on!
Step-By-Step Guide to Install MySQL on Ubuntu 24.04
If you have a user account on your Ubuntu 24.04 and have sudo privileges, installing MySQL requires you to follow the procedure below.
Step 1: Update the System’s Repository
When installing packages on Ubuntu, you should update the system’s repository to refresh the sources list. Doing so ensures the MySQL package you install is the latest stable version.
$ sudo apt update

Step 2: Install MySQL Server
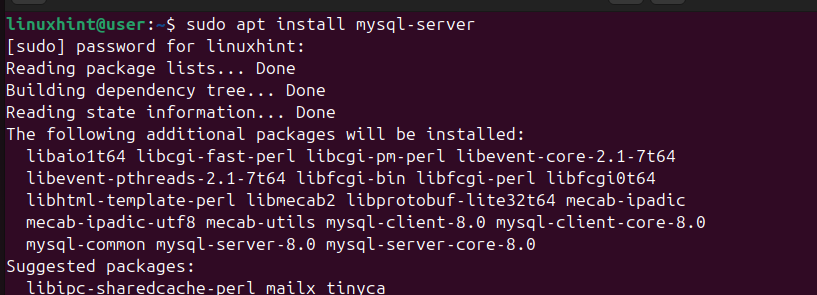
Once the package index updates, the next step is to install the MySQL server package using the below command.
$ sudo apt install mysql-server

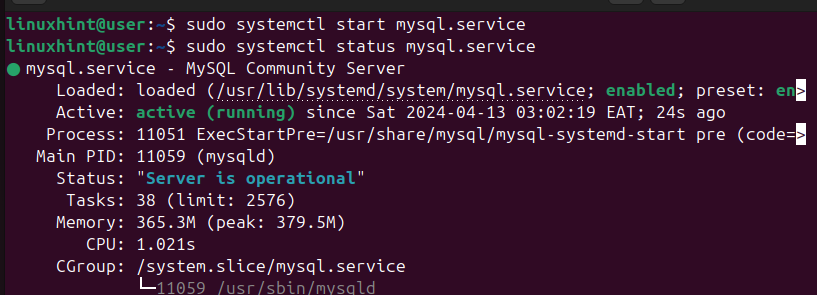
After the installation, start the MySQL service on your Ubuntu 24.04.
$ sudo systemctl start mysql.service

Step 3: Configure MySQL
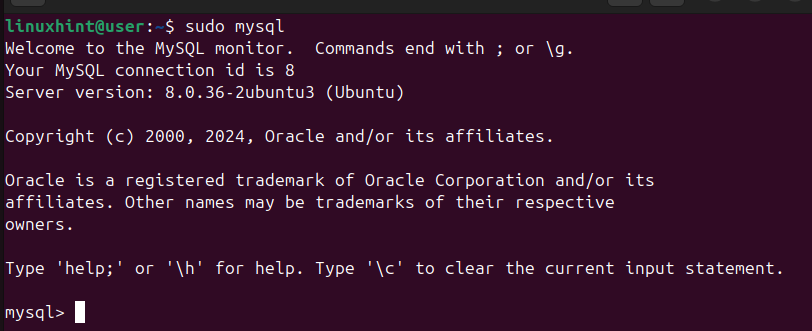
Before we can start working with MySQL, we need to make a couple of configurations. First, access the MySQL shell using the command below.
$ sudo mysql

Once the shell opens up, set a password for your ’root’ using the below syntax.
ALTER USER ‘root’@’localhost’ IDENTIFIED WITH mysql_native_password BY ‘your_password’;
We’ve also specified to use the mysql_native_password authentication method.

Exit the MySQL shell.
exit;

Step 4: Run the MySQL Script
One interesting feature of MySQL is that it offers a script that you should run to quickly set it up. The script prompts you to specify different settings based on your preference. For example, you will be prompted to set a password for the root user. Go through each prompt and respond accordingly.
$ sudo mysql_secure_installation

Step 5: Modify the Authentication Method
After successfully running the MySQL installation script, you should change the authentication method and set it to use the auth_socket plugin.
Start by accessing your MySQL shell using the root account.
$ mysql -u root -p

Once logged in, run the below command to modify the authentication plugin.
ALTER USER ‘root’@’localhost’ IDENTIFIED WITH auth_socket;

Step 6: Create a MySQL User
So far, we have only access to MySQL using the root account. We should create a new user and specify what privileges they should have. When creating a new user, you must add their username and the login password using the syntax below.
create user ‘username’@’localhost’ IDENTIFIED BY ‘password’;

Now that the user is created, we need to specify what privileges the user has when using MySQL. For instance, you can give them privileges, such as CREATE, ALTER, etc., on a specific or all the databases.
Here’s an example where we’ve specified a few privileges to the added user on all available databases. Feel free to specify whichever privileges are ideal for your user.
GRANT CREATE, ALTER, INSERT, UPDATE, SELECT on *.* TO ‘username’@’localhost’ WITH GRANT OPTION;

For the new user and the privileges to apply, flush the privileges and exit MySQL.
flush privileges;

Step 7: Confirm the Created User
As the last step, we should verify that our user can access the database and has the specified privileges. Start by checking the MySQL service to ensure it is running.
$ sudo systemctl status mysql

Next, access MySQL using the credentials of the user you added in the previous step.
$ mysql -u username -p

A successful login confirms that you’ve successfully installed MySQL, configured it, and added a new user.
Conclusion
MySQL is a relational DBMS widely used for various purposes. It supports SQL in managing data, and this post discusses all the steps you should follow to install it on Ubuntu 24.04. Hopefully, you’ve installed MySQL on your Ubuntu 24.04 with the help of the covered steps.
More...