 Tweet
Tweet
Update the System
Let’s start with the system update by launching the Terminal shell of Ubuntu 24 since all our installations and upgrades are command-based. For this simple step, we will utilize the “apt” utility of Ubuntu with sudo rights in the “update” command. This command updates the system utilities and repositories to avoid potential conflicts upon installing new software and applications. You can also perform the system upgrade and update if required.
Sudo apt update

Install Podman
After updating the Ubuntu 24 system, let’s move towards installing Podman. For its installation, we use the same “apt” utility that is very convenient and easy to use within the installation instructions. The “-y” flag is used to force the installation of Podman no matter what. Thus, the installation starts right after the execution of the following query:
Sudo apt install -y podman
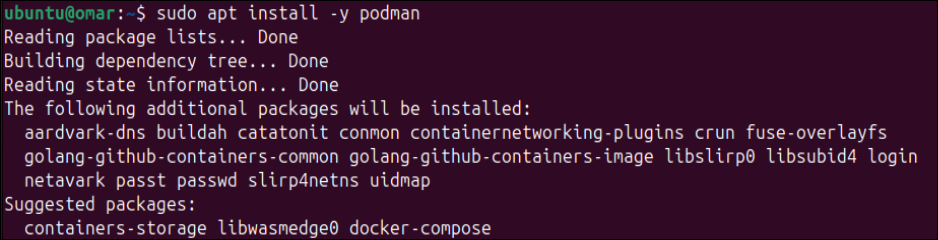
The installation of the Podman tool may take longer than any other usual installation. Thus, you have to wait for a while until it’s done.

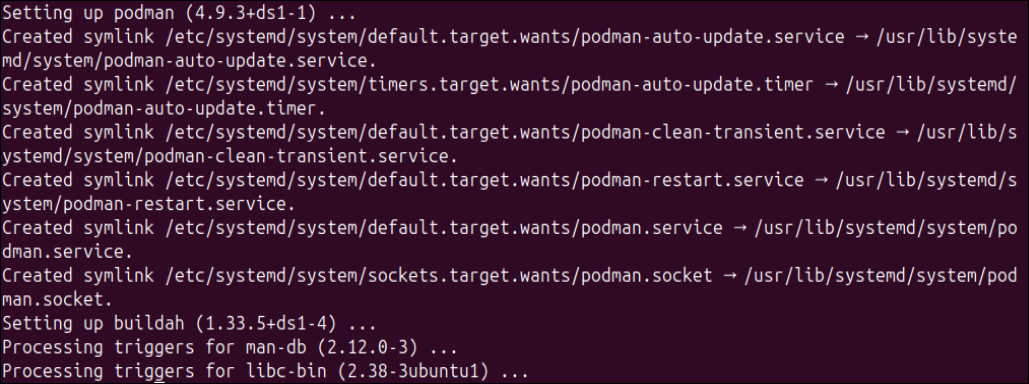
After waiting for a while, the Podman will be installed and its symlink will be created as displayed in the output:
Verify the Installation
Now, we need to verify whether the Podman tool has been successfully installed and configured in our Ubuntu 24 system. For this, we look for the installed version of Podman with the help of a simple version command as follows:
Sudo podman –version

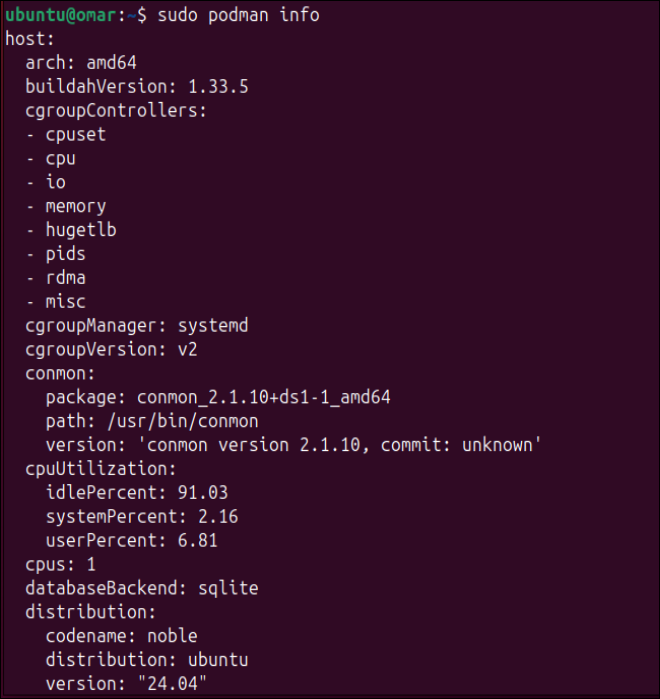
To get the information regarding the Podman tool that is installed at your end, you can also utilize the “info” command with sudo rights as follows:
Sudo podman info
Run the Containers via Podman
We can say that the container is a service that utilizes different images for its processing. You can create containers or use the already built-in containers. Therefore, we must pull the container and run it on our end. For this, we use the “Run” instruction, the “-it” flag, and the name of a container, i.e., hello-world. It will start pulling the container from its main source and running it on our end.
Sudo podman run -it hello-world

You will get the following output after the execution of this “run” instruction. You can see that this container has been pulled from the Docker’s main source:

Now, we can look for all the currently running containers of Ubuntu 24. For this, we utilize the following shown Podman instruction with the “ps” option. The output of this instruction displays that there are no currently working containers. While looking for all the pulled containers, we can use the “-a” flag within the same instruction. You can see that the output with the “-a” option displays the information of one container.
- Sudo podman ps
- Sudo podman ps -a

Remove the Containers
Just like adding a new container to your system, you can also remove any added container from your Ubuntu 24 system using the Podman tool. You must utilize the “rm” option within the Podman instruction with the sudo rights. Make sure to mention the container ID after the “rm” option within the same query. The container with a particular ID will be removed permanently.
Sudo podman rm 9bd8d19ef028

Use Images via Podman
An image in a Podman environment is said to be the set of instructions required to run a container service or application. So, to run the Podman container, we need a particular image. To list all the available images on Ubuntu 24, you need the same Podman command with the “images” keyword. It displays all the available images in your system, i.e. d2c94e258dcb.
Sudo podman images

To get a new image for your Podman environment, you can run the “pull” instruction along with the name of a new image, i.e. “debain”, as shown in the attached image.
Sudo podman pull debian

After using the image instructions again, you can see that the new image has been downloaded successfully.
Sudo podman images

Create Containers in Podman
Now that the image has been downloaded, we must run it to create a container with a user-defined name. For this, the “run” instruction for Podman will be executed with the “-dit” and “—name” flags followed by the name of a container, i.e. “Debian-container”, and the name of an image that you just downloaded, i.e. “Debian”. After creating a container from the “Debian” image, you can also see it working in Podman.
- Sudo podman run -dit –name debian-container debian
- Sudo podman ps

To connect with the newly running container named “debian-container”, you need to utilize the “attach” instruction of Podman. Now, you can work within this container.
Sudo podman attach debian-container

To get the version of the container, run the following command in this container:
Cat /etc/os-release

Now, to get out of the container and stop it from running, you have to use the “exit” instruction followed by the Podman “Stop” instruction with the name of a specific container.
- exit
- Sudo podman stop debian-container

To start, stop, and remove a Podman container, you can use the following commands in a sequence:
- Sudo podman start debian-container
- Sudo podman stop debian-container
- Sudo podman rm debian-container

You can remove a Podman image using the “rmi” option in the same “remove” command.
Sudo podman rmi debian

Uninstall Podman
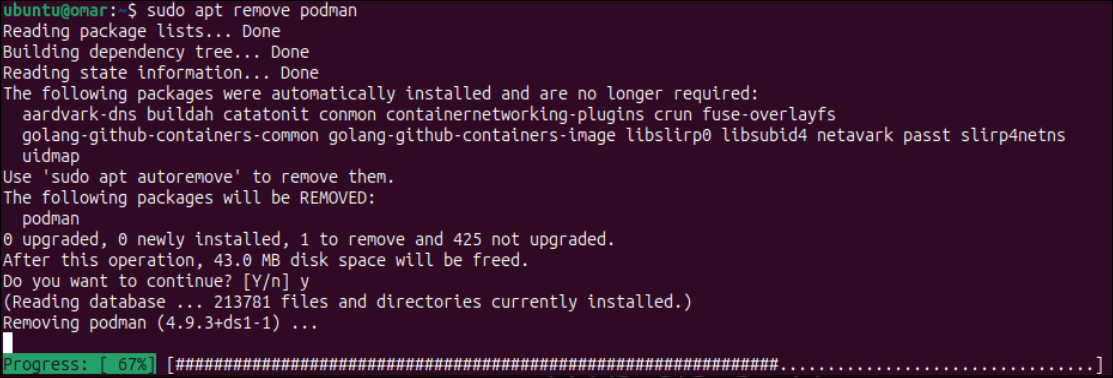
It’s time to uninstall the Podman tool from our Ubuntu system using the “remove” instruction. Using the “apt” utility is a must since we installed it with “apt”.
Sudo apt remove podman
Conclusion
This guide is all about using containers and images via the Podman tool. We elaborated on the main difference between a Podman and a Docker service. After that, we elaborated on the simplest method to install Podman in Ubuntu 24 and pulled some containers and images. After that, we went through how to use the containers using images and the steps to uninstall the Podman service.
More...